Showing posts with label tags. Show all posts

Friday, November 20, 2015

Games People Play

Hey Crafty!  I hope you’ve been following along the last few days while we celebrate my daughter’s birthday, celebrate life, and take a closer look at a Crafty Neighbor Scrapbooking Cruise.  If you’re paying attention, you can win your choice of either a $50+ goodie bag of scrappy goodness, or a $25 gift certificate good towards any Crafty Neighbor Event.  You didn’t know YOU could get gifts for someone else’s birthday, did you?!  For all the details, go back to my blog post on November 18.

When kids are little, we often have games at their birthday parties, but grownups like to play games, too, so we always have some fun things going on during our Crafty Neighbor cruises.  One of my favorites is Cruise Ship Bingo, which is actually more like a scavenger hunt on a bingo card.  I just love the clever ways ladies find to prove their Bingos!

Speaking of scavenger hunts, Royal Caribbean hosts a fantastic audience participation game called the Quest that we love to attend as a group.  It can get pretty funny watching your best friend stand up to do something you never thought they would do in a million years.  Let’s just say this game is adults only, and it will make you laugh until you cry.


Instructor, Karrie Allen laughs as her husband jumps down from the audience to participate in The Quest


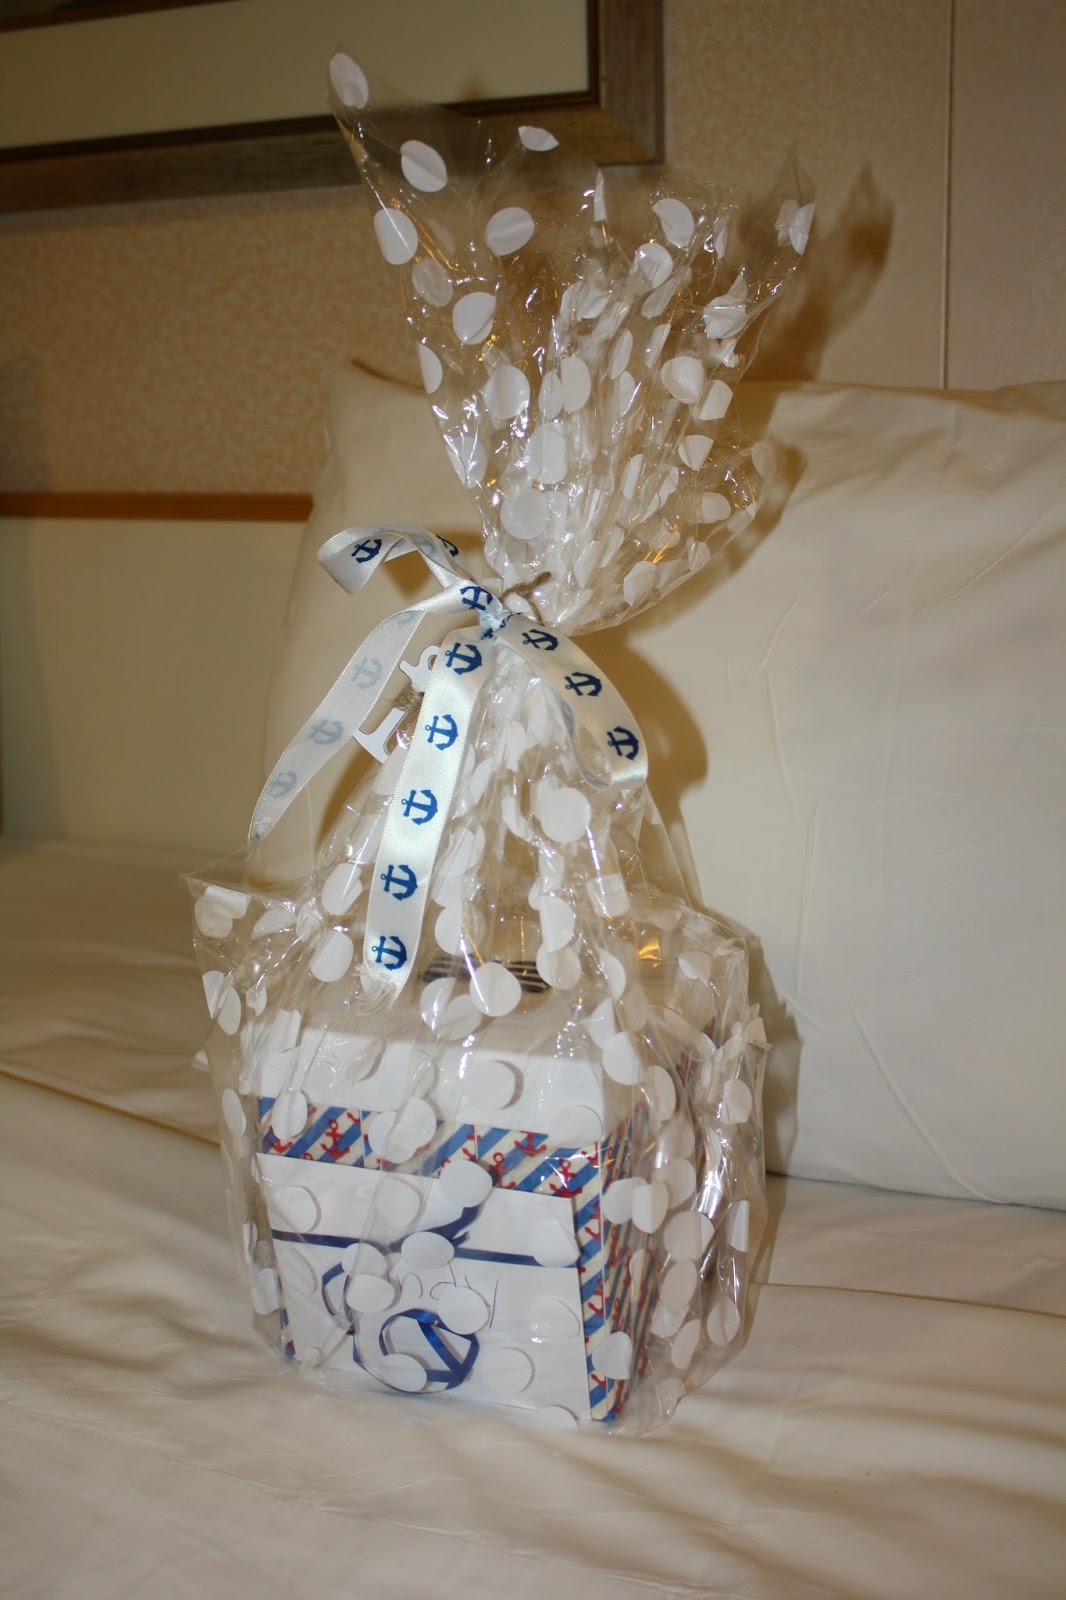
Secret Sister, card swaps, tag swaps…we just love to give stuff away, don’t we?  This year we had a tag swap and a Secret Sister swap.  Some scrappers can get pretty sneaky about leaving little gifts for their sisters.  I love this game, even though I can’t participate.  Why, you ask?  Because I know who all the sisters are.  Of course, that didn’t stop a few special someones from leaving goodies for me anyway now and then.  Weren’t they sweet?


My sweet roommate, Sixta, left this little goodie for me!


The tag swaps became popular a few years ago, and they are so much fun.  Here’s the tags I swapped.  My tags used gesso, cheesecloth, lace, chipboard, distress embossing powder, shells, pearls, yarn, distress inks, tissue paper, Dylusions ink spray, and more.    They were a complete and utter messy experiment!  Let’s just say I had to do a lot of scrubbing on my hands when I was done.


And here are some of the tags I collected from the swap.  Aren’t they beautiful?


Thanks for stopping by today.  I hope the tags have inspired you, and that you’re reading the blog so you can enter the contest on Saturday.  One more post, and then the contest form will be open for entries!

Friday, March 13, 2015

Simple Things

Sometimes I get behind on my blog because I simply do not have anything to post.  Or rather, I think I don't have anything to post.  I always try to find something interesting to share, or a project that I feel is worthy of your attention. When I get busy, I don't have time to write out an elaborate post or make a new project just for the blog.  And when that happens, I wind up not posting for a while.


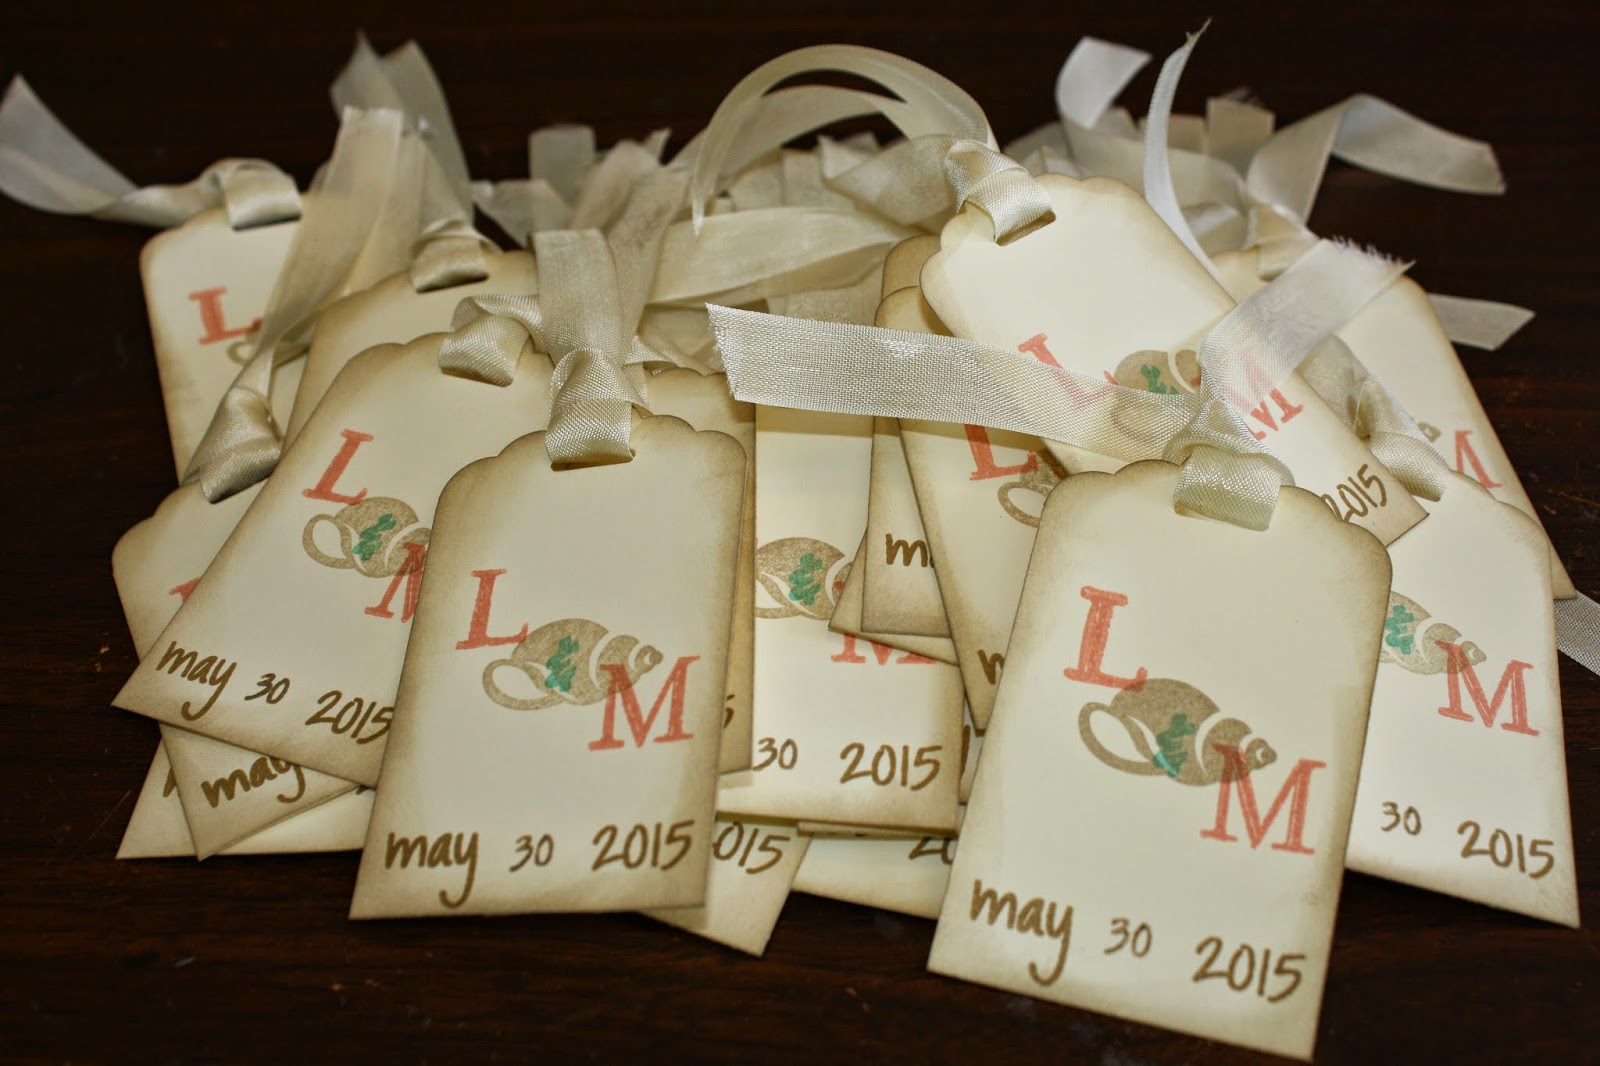
But there's no rule that a blog post has to be a big, elaborate project or a long blog post.  Sometimes, it can just be something simple.  So today I share with you a very quick project I did for one of my clients.  I spent about an hour and a half figuring out the right color combos and stamp placements.  After that, I made about 3 dozen of these in a couple of hours.  The client is tickled, I took on a quick and easy job that I was able to finish, and I feel like I accomplished something.

So the next time you think you don't have time to scrapbook, remember...there's no rule that says you have to do a big, fancy, 2-page layout and finish it all tonight.  Just find something small to do, like writing up a bit of journaling, going back to those pages you set aside to finish later, or even sorting and editing photos.  Every little job counts, too.  And if you do a little bit every day, pretty soon you've accomplished a whole lot!

Supplies used: Stampin' Up Very Vanilla Card Stock, Very Vanilla seam binding, Tag Topper punch, Crisp Cantaloupe, Coastal Cabana, Baked Brown Sugar and Crumb Cake inks, and the & from "Calling All Heroes" stamp set.  The Stamps of Life "calendar2build" stamp set. Close to My Heart "Cruisin'" stamp set. Assorted letter stamps.

Friday, March 22, 2013

Free Tip Friday - Two Simple Tips


Today’s tips are a repeat of two tips I shared with the Scrappin’ Queen, Dawn Duntley.   Dawn is the founder of Scrapbook Hoarders Annonymous, a Facebook group for scrapbookers who want to sell unwanted supplies.  It’s a lot like a giant virtual garage sale where each seller posts their own supplies but without having to pay fees to the likes of ETSY, Ebay, YardSeller, or any other group just for the privilege of posting.  The group has 1,550+ members, so if you’re looking for something in particular, chances are you will find it there.

Dawn has another facebook page for her own scrapbook supply company, and she often posts a “Tip of the Week”.  Here are two simple tips I shared with Dawn last September:

How to make your title stand out from the background paper

Have you ever die cut a title and then laid it out on your page only to be less than impressed with the way it looks?  Sometimes die cut titles tend to blend into the background paper especially if the paper has a busy pattern.  To make my titles stand out, I often use a simple outlining technique to create a “shadow” of sorts around my letters.  You can use a black, white, or colored pen to just trace around the edges of all the letters.  You will be amazed at what a difference it makes!

Not the prettiest picture, but you can clearly see the difference the outline makes.


How to hand cut the perfect tag

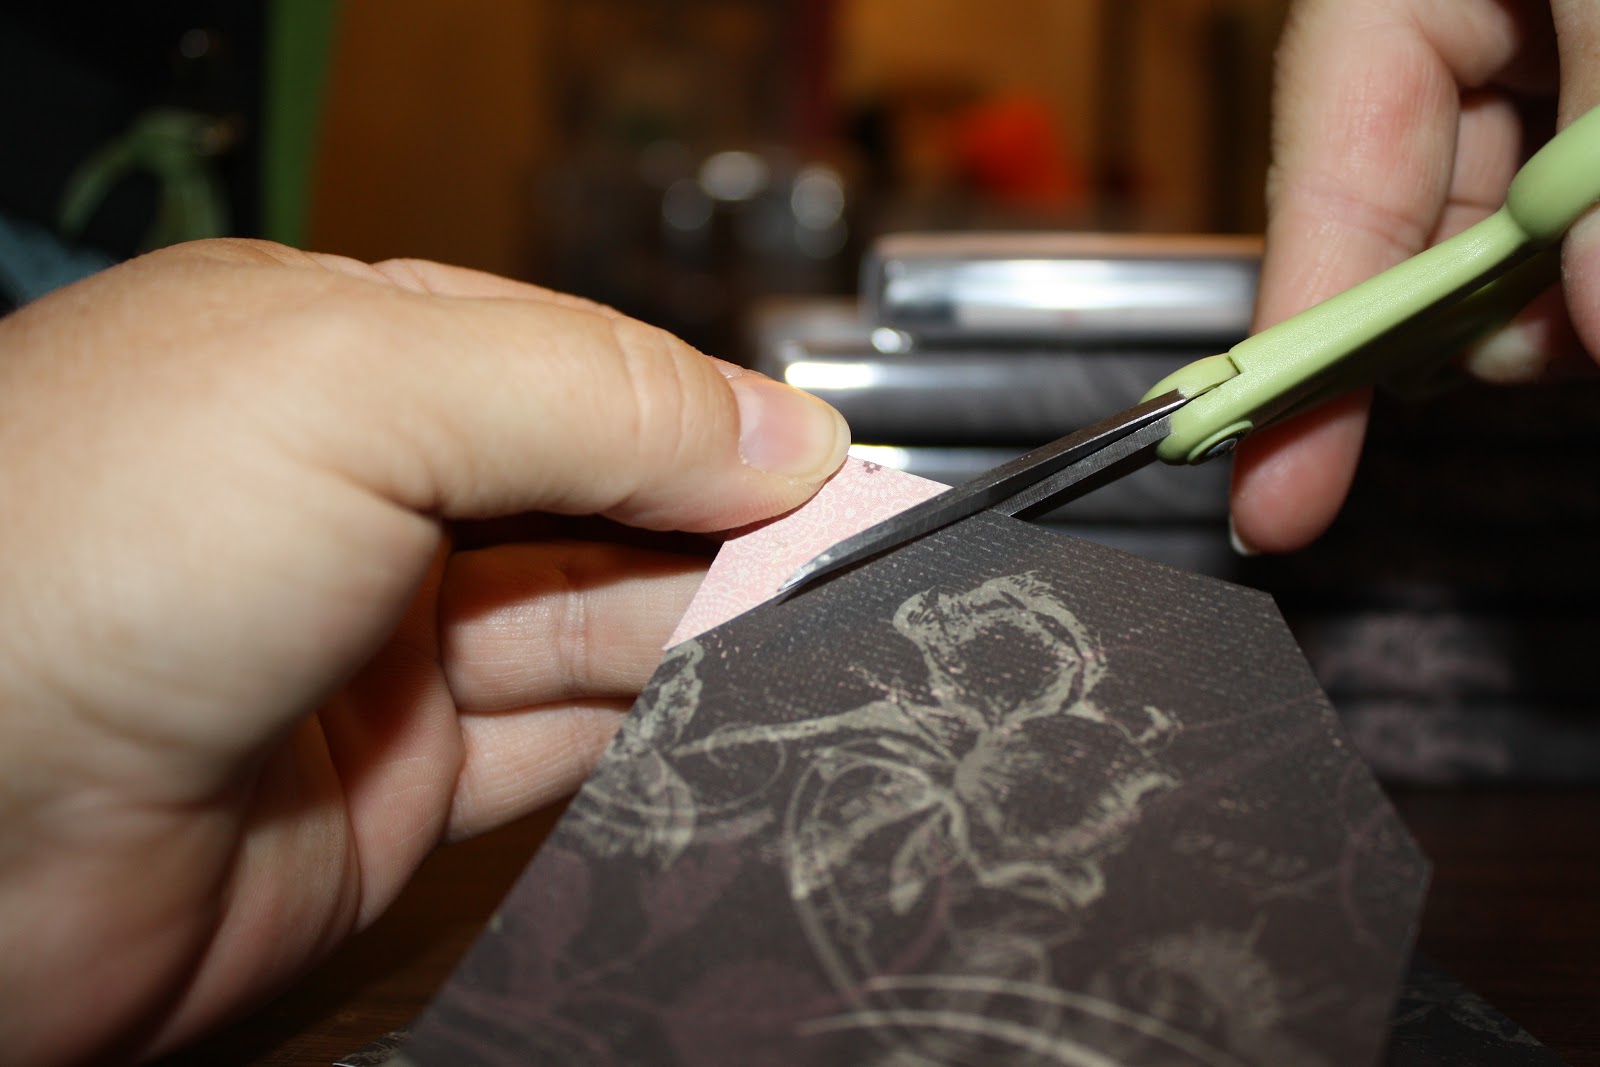
Have you ever needed to make a tag without using a die cut only to have the tag come out lopsided because you can’t get the angles to match?  To make sure the angled corners are identical, try this trick:  Snip one corner, but flip the cut piece over and use it as a template to cut the other side.  Voila!  Both sides are cut at an identical angle – no more lopsided tags!

Cut off one corner.

Flip the cut piece over and use it for a guide on the other side.


Thanks for stopping by!

Thursday, February 21, 2013

Playing Tag on a Cruise


Yesterday’s post about shopping in Mexico really got me thinking about our annual scrapbooking cruise.  I’m getting really excited about it already because I met with Valerie Jackson and Susie Moore last weekend to talk about classes and workshops and some of the awesome goodies we’ll be giving out.  The projects we have planned for you are fabulous, and I just know you will all love them. 


This year, on the cruise, we will be having another tag swap.  Swapping tags was so much fun that we dedided to do it again this year. This is the tag I made last year using the Cricut cartridge “Life is a Beach”


While we were on the cruise, we made friends with the Assistant Cruise Director, Lexie Smith, who also happened to be a scrapbooker.  Lexie was hands down the sweetest Carnival employee I have ever met (and I’ve met quite a few really sweet ones).  She came by whenever she could just to check on how we were doing and to bring us champaign and chocolate-covered strawberries one day.  We really appreciated her company and attention, so Susie made der this lovely tag as a thank you.
Lexi Smith with a tag made by Susie Moore

You can see from the card just how talented Susie is, and that is why I am so jazzed to have both Susie and Valerie onboard for the 2013 cruise.  You can check out their special talents for yourself by visiting their blogs:


You can also learn more about these awesome ladies and our annual cruise at https://sites.google.com/site/cnscrapbookcruise/.

Thursday, January 24, 2013

Red and Green


I love challenges!  In the past, we've always had a card swap at our 3rd Wednesday Stamp Club meetings.  We've done the usual birthday, get well, anniversary, thank you, and other assorted themes.  For this last round we decided to mix it up a bit and make it a little more challenging.  In December, our theme was to make a red and green card but it could not be Christmas.  I also made a few tags out of the scraps.


Sunday, July 15, 2012

Happy Scrapping Weekend!

I love it when I get to have a scrappy weekend!  I just feel so much more rested to start out my Monday if I've had some quality time with all my pretty projects!  This weekend, I got scrappy and used up some real scraps!  

I've mentioned before that I like to use the leftovers from projects to make cards and tags because all the supplies already match.  Sometimes, if I have a lot of supplies leftover from a big project (like an entire 12x12 album made from one product line), I might make a card or two and then set it aside to use later. That's exactly what I did with a huge stack of Basic Grey's Lime Rickey.  I originally used this paper in a scrapbook album of my son's Boy Scout World Jamboree, but I still had tons of it left after making cards and tags.  So I've been whittling away at it for a couple of years now, and I still have supplies left!    I've made cards, tags, multiple scrapbook pages (to go in other albums)...you name it!  Recently, I even used some of it to make hundreds of kits to give away at conventions and other big scrapbooking events.

This weekend, I decided to use up all the scraps so that I wouldn't have anything left but full sheets of paper and matching cardstock.  I wound up making five cards and three tags, and in the process of making those, I found supplies to make a sixth card.  I think they turned out rather well, if I do say so myself!

 
Christen had this cute little stamp that features a bird on one side, and a cat on the other.  I've used the quote many times for cards with this paper, but hadn't used the actual stamp.  She was going to get rid of it in our recent garage sale, so I nabbed it.  I used the flip-side of the stamp on the inside.


For both of these first two cards, I inked only the words of the stamp using my markers and then punched it out with a  Stampin' Up! decorative label punch.  This card features the full stamp.


I loved this green paper and wanted to do some monochromatic cards with it.  The butterflies are Stampin' Up! Beautiful Wings Embosslits die


The "birthday wishes" on this one was cut with the Spellbinders Nested Pennants die that I bought at the scrapbook garage sale last week.


While digging around in my green scraps for some pale green paper to make my butterflies out of, I found this piece of cardstock that was scored and ready to make a card.  I found a matching piece of paper from My Minds Eye and I used a set of the embossed butterflies that I had earlier discarded because I had tried an inking technique that didn't work.  Thank goodness for Copic markers...I colored them brown and they look great!


These are the tags I made with some of the scraps.  I have four sets of sticker embellishments that go with this paper pack, so it will be a fun challenge to see how many different ways I can use them up!


Thursday, June 14, 2012


Tip of the day:
Two of yesterday’s layouts featured the technique of printing onto prepared journaling cards.  The cards I used come as a 12x12 sheet (often double sided) with an assortment of different sized and shaped cards such as the one seen below.  


These have become a very popular product in many scrapbooking lines, and I’ve found them to be very handy to keep on hand for everyday use.  I actually started gathering them to put in my smash book box, a plastic bin I use to keep random things I might want to use in my smash book.  I have the book in the box and everything is ready to go at a moments notice just in case I have a few minutes to spare and want to work on a page in the book.  I thought the journaling tags would be handy to keep in the box for adding texture, contrast, and of course, handwritten journaling.  But I’ve actually found the cards to be quite useful for my everyday scrapbooking as well, and, as I discovered during the LOAD challenge, they don’t even have to match the paper you’re working with!

I like to use a lot of type-written journaling on my pages.  I’m a bit anal-retentive, and like everything to be aligned and spelled properly.  Plus, my handwriting is atrocious, so it’s better to be able to actually read the story than to admire my chicken scratchings.  It’s easy enough to just stick a piece of cardstock into the printer and then cut it to the size I need, but sometimes that’s wasteful, and what if I only have one little piece of paper that’s too small for the printer?  That’s when a little patience comes in, along with a great trick I learned from some random scrapbooker a long, long time ago.


The first step is to measure your piece of paper (or journaling tag) and determine what size margins and text area you need.  I generally leave ¼” to ½” margins all the way around my tag.  In my example from yesterday, the card itself was 2 ¼” by 3 ½” but I needed the journaling to stay within the vanilla colored area and not on the green, so I added another ¾” of margin to both the top and left side.  Microsoft Word already defaulted to 1” margins, so I added the extra that I needed to ensure that there would be space between the edge of the paper and the start of the tag.  I also set the text boundary on the right side to make sure my text didn’t run off the right side of the page.  You can do this with the right indent or with the margin setting.  I needed about 2” to fill the space available from left to right.


Once you have your measurements, you can type up your journaling or title.  Check your spelling and grammar and then pick your fonts.  You can start playing with the size of your text, adjusting until everything fits in the desired space.  Keep a close eye on the bottom of your text to make sure it doesn’t run off the bottom of your tag. 

When you feel like your text will fit on the tag or cardstock the way you want, it’s time to make a test print. Print onto plain paper, not your cardstock or tag, then hold the journaling card up against it (in front or in back, wherever you can best see both the shape of the card and the text). If it’s still hard to see the text through the card, or vice versa, try holding it up to a light or using a light box. Sometimes it might take me 3 or 4 tries to get the text to fit just so.  Just keep playing with your margins and text sizes until you get exactly what you want.  I keep a lot of scrap printer paper around just for this reason, and you can always turn the paper around to use the other end or flip it over to use the back side. 


You’ll also want to make sure that you know which direction the paper feeds into your printer so that you print on the right part when you put your cardstock in.  If you’re not sure, you can mark a small “X” in the top right corner of the next piece of paper to be fed.  Then note where the “X” is when the paper is done printing.  If your paper feeds upside down you will want to remember that when you are putting in your cardstock or tags.  As a general rule for desktop printers, if the paper comes out upside down, then it probably went in right-side up, and vice versa, but test it just to be sure.

Once you are satisfied that the text will indeed fit onto the card where you want, you will need to use some repositionable tape to secure the card to the paper.  Tape it down so that the text is exactly where you want it under the card.  I like to use Scotch brand Removable Tape by 3M.  It is tacky enough to hold just about any card or paper, but it peels off easily without tearing.  Plus, it’s reusable!  I use it and then peel it off and save it again for a later project!  Waste not – want not, I always say!  


Tape your card to the test paper all the way across the top of the tag.  This will keep the tag from popping up or moving while you are printing.  It is not necessary to tape the bottom or sides.  Now just put the taped up paper in the printer and print a second time, making sure you feed the paper the right direction.  Voila!  You should have a neatly printed title or journaling block on a very small scrap of paper.  This technique works on all sizes of paper – as long as you can tape the cardstock to the test print without taping over the text area, it will work! 


I do advise testing this technique on a few scraps of cardstock just to get the hang of it before you try printing on that treasured, one-of-a-kind journaling tag, but other than that, once you’ve figured out how it works, it is pretty much the same every time.  It does take a little patience to figure out exactly what size font and how wide to make your margins, but I’m confident you’ll be using this technique all the time once you figure it out!

That’s all for now.  Look for some more layouts tomorrow, and maybe a Father’s Day card or two!