Showing posts with label gift tags. Show all posts

Friday, November 20, 2015

Games People Play

Hey Crafty!  I hope you’ve been following along the last few days while we celebrate my daughter’s birthday, celebrate life, and take a closer look at a Crafty Neighbor Scrapbooking Cruise.  If you’re paying attention, you can win your choice of either a $50+ goodie bag of scrappy goodness, or a $25 gift certificate good towards any Crafty Neighbor Event.  You didn’t know YOU could get gifts for someone else’s birthday, did you?!  For all the details, go back to my blog post on November 18.

When kids are little, we often have games at their birthday parties, but grownups like to play games, too, so we always have some fun things going on during our Crafty Neighbor cruises.  One of my favorites is Cruise Ship Bingo, which is actually more like a scavenger hunt on a bingo card.  I just love the clever ways ladies find to prove their Bingos!

Speaking of scavenger hunts, Royal Caribbean hosts a fantastic audience participation game called the Quest that we love to attend as a group.  It can get pretty funny watching your best friend stand up to do something you never thought they would do in a million years.  Let’s just say this game is adults only, and it will make you laugh until you cry.


Instructor, Karrie Allen laughs as her husband jumps down from the audience to participate in The Quest


Secret Sister, card swaps, tag swaps…we just love to give stuff away, don’t we?  This year we had a tag swap and a Secret Sister swap.  Some scrappers can get pretty sneaky about leaving little gifts for their sisters.  I love this game, even though I can’t participate.  Why, you ask?  Because I know who all the sisters are.  Of course, that didn’t stop a few special someones from leaving goodies for me anyway now and then.  Weren’t they sweet?


My sweet roommate, Sixta, left this little goodie for me!


The tag swaps became popular a few years ago, and they are so much fun.  Here’s the tags I swapped.  My tags used gesso, cheesecloth, lace, chipboard, distress embossing powder, shells, pearls, yarn, distress inks, tissue paper, Dylusions ink spray, and more.    They were a complete and utter messy experiment!  Let’s just say I had to do a lot of scrubbing on my hands when I was done.


And here are some of the tags I collected from the swap.  Aren’t they beautiful?


Thanks for stopping by today.  I hope the tags have inspired you, and that you’re reading the blog so you can enter the contest on Saturday.  One more post, and then the contest form will be open for entries!

Friday, March 13, 2015

Simple Things

Sometimes I get behind on my blog because I simply do not have anything to post.  Or rather, I think I don't have anything to post.  I always try to find something interesting to share, or a project that I feel is worthy of your attention. When I get busy, I don't have time to write out an elaborate post or make a new project just for the blog.  And when that happens, I wind up not posting for a while.


But there's no rule that a blog post has to be a big, elaborate project or a long blog post.  Sometimes, it can just be something simple.  So today I share with you a very quick project I did for one of my clients.  I spent about an hour and a half figuring out the right color combos and stamp placements.  After that, I made about 3 dozen of these in a couple of hours.  The client is tickled, I took on a quick and easy job that I was able to finish, and I feel like I accomplished something.

So the next time you think you don't have time to scrapbook, remember...there's no rule that says you have to do a big, fancy, 2-page layout and finish it all tonight.  Just find something small to do, like writing up a bit of journaling, going back to those pages you set aside to finish later, or even sorting and editing photos.  Every little job counts, too.  And if you do a little bit every day, pretty soon you've accomplished a whole lot!

Supplies used: Stampin' Up Very Vanilla Card Stock, Very Vanilla seam binding, Tag Topper punch, Crisp Cantaloupe, Coastal Cabana, Baked Brown Sugar and Crumb Cake inks, and the & from "Calling All Heroes" stamp set.  The Stamps of Life "calendar2build" stamp set. Close to My Heart "Cruisin'" stamp set. Assorted letter stamps.

Sunday, December 26, 2010

Gift Giving for the Whole Year

I fully intended to have posted a couple of blogs in December with some great Christmas ideas, but the insanity level around here was at an all-time high and the blogs just never materialized.  I decided to not feel bad about it, after all, you’re probably too busy to read it anyway, and well, it just doesn’t really matter in the grand scope of things! 

This apparent lack of concern is a very new approach for me.  I’m actually the over-achieving, Type-A, obsessive-compulsive perfectionist of the family.  But I must say, the change in attitude has helped a lot with the stress I normally impose upon myself throughout the holidays.  I just have to keep reminding myself of the fortune cookie I got a couple of weeks ago.  It said something like, “Don’t worry about what you SHOULD do, concentrate on what you CAN.”  Great words of advice. 

So instead of worrying about the fact that half my gifts still haven’t made it to the post office or that I forgot to offer the eggnog and cider to our guests on Christmas Eve, I intend to sit back and drink that eggnog and cider myself while I watch my family play with the gifts that DID get finished.  Oh, and all those blog ideas?  Well, how ‘bout we turn them into projects and gifts you can make and use throughout the year?

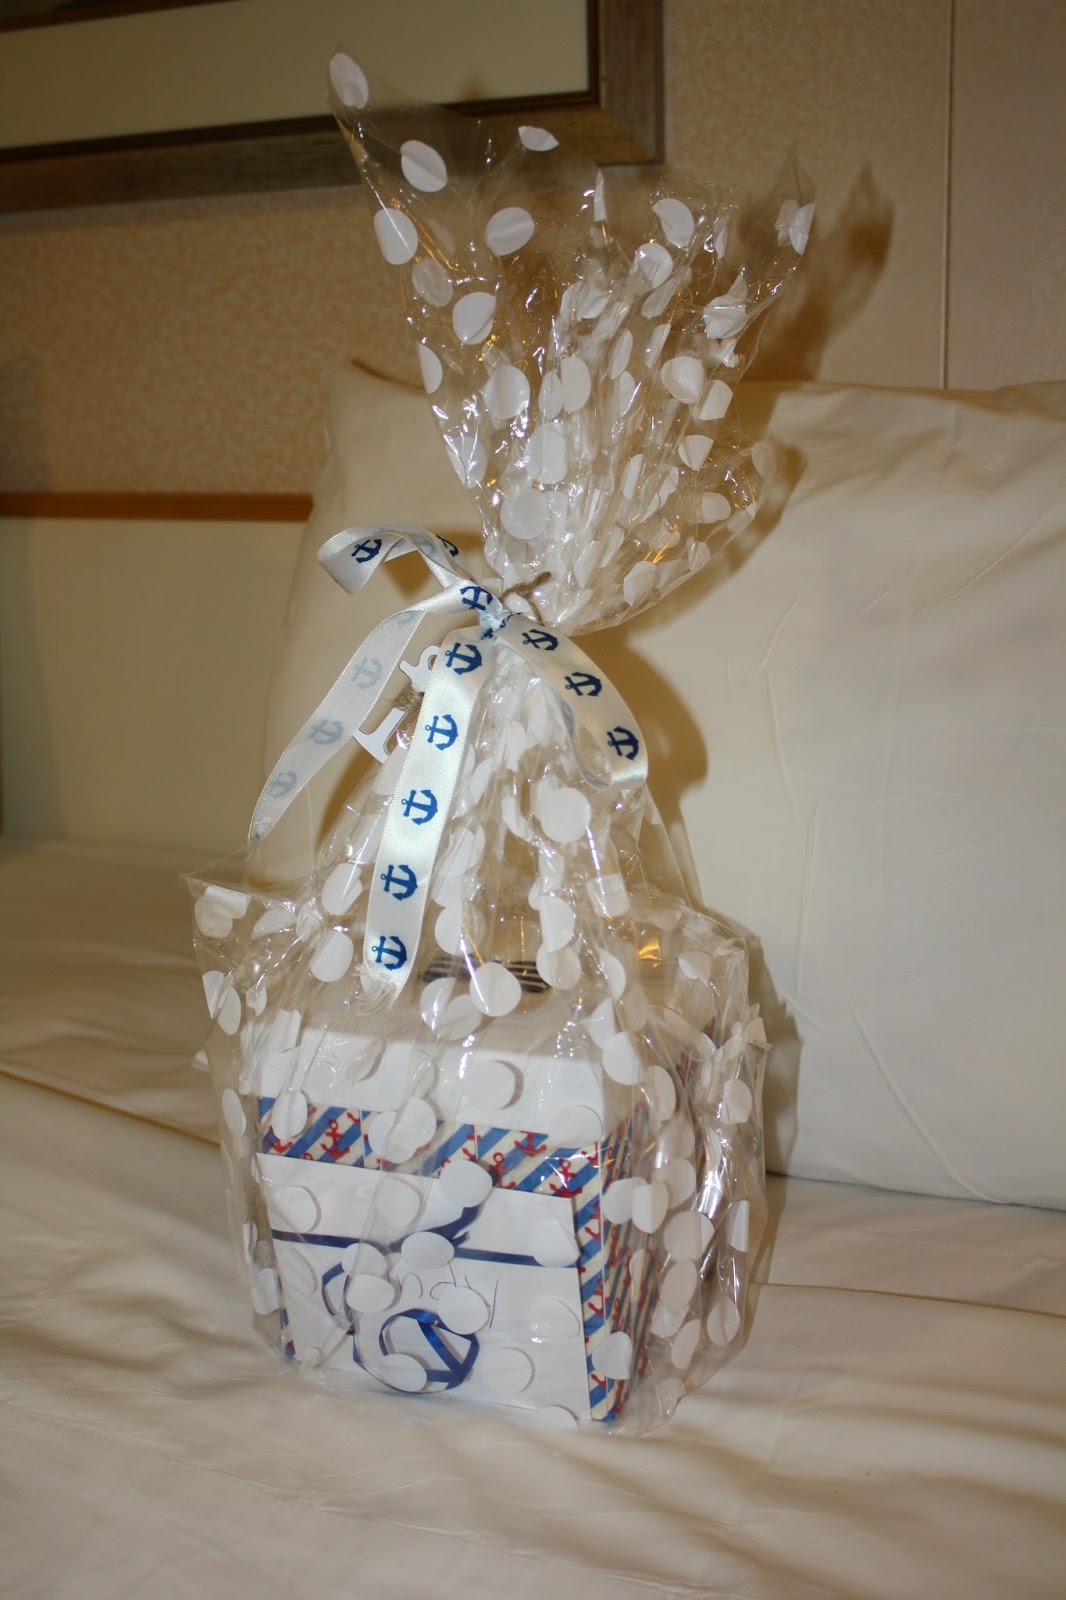
For a quick and easy gift idea, try making one of these cute little gift tag sets:


These are some cute little gift tag boxes I made for teachers and a few friends.  I loved making these, they are such a simple concept and yet so versatile and VERY easy to personalize.  The original idea for these comes from the Splitcoaststampers website and were first presented to me by Stephanie G., a very talented Stampin’ Up demonstrator we know.  Later, Pam used this same concept as the basis for one of her classes on our fall cruise.  The tags can be put together in endless combinations, and I’m considering putting together some generic tag sets to use for birthdays, showers, and other gift-giving occasions.  If you want to see some more ideas along these lines, check out the Splitcoaststampers gallery.

Several of us belong to a Stampin’ Up! hostess club, and this month we learned how to make these lovely coasters/trivets.


We used Staz-on inks, Stampin’ Up! Craft Inks, Stampin’ Up Classic inks, stencils and stamps.  The tiles were baked at 350° for 10 minutes, cooled, and then sprayed with a sealant.  Felt pads on the bottom will protect your furniture.  I bundled up the four NOEL tiles in a pretty ribbon and presented them to my sister-in-law.  Monograms, names, special words, or even pretty designs can be used to personalize these for any occasion.

Speaking of monograms…


Last year, I made several monogram wall ornaments to give as gifts to my kids, nieces, and a few favorite teachers (see more in my December 2009 blog entry). 


This year, I had to make another one for my brand new nephew, Billy, and his two older brothers who live in another state, Todd and Ryan.  These are super cute and simple to make.  The cardboard letters are available at Hobby Lobby, or you can use wooden letters available at most larger craft stores.  Some 3-in-1 glue (it’s the BEST for sticking paper to chipboard!), patterned paper, and a little creativity can turn it into a very personal and lovely gift for people of any age.

Need something a little more elaborate or personalized?  What about a perpetual calendar?


I made this perpetual calendar for my mother for Christmas.  She’s a huge NASCAR fan, so I thought I’d do up her calendar in that theme.  It was a really fun challenge, and I’m really pleased with the results!  I’ve also seen University of Texas themed calendars, color-themed calendars, and really, just anything you can imagine!  If you’d like to give one of these a try, I teach it as a class (usually no more than 2 or 3 people at a time) and I provide all of your general supplies.  It’s a great deal, and you can create something completely unique!  For more information please see our website.

Okay, so you’ve made Aunt Sallee a really cute set of coasters for her sunroom.  You wouldn’t just throw it in any old box or bag would you?  This idea came from another awesome Stampin’ Up! Demonstrator (Sharon A.), what about making a super cute gift bag from an ordinary lunch sack?


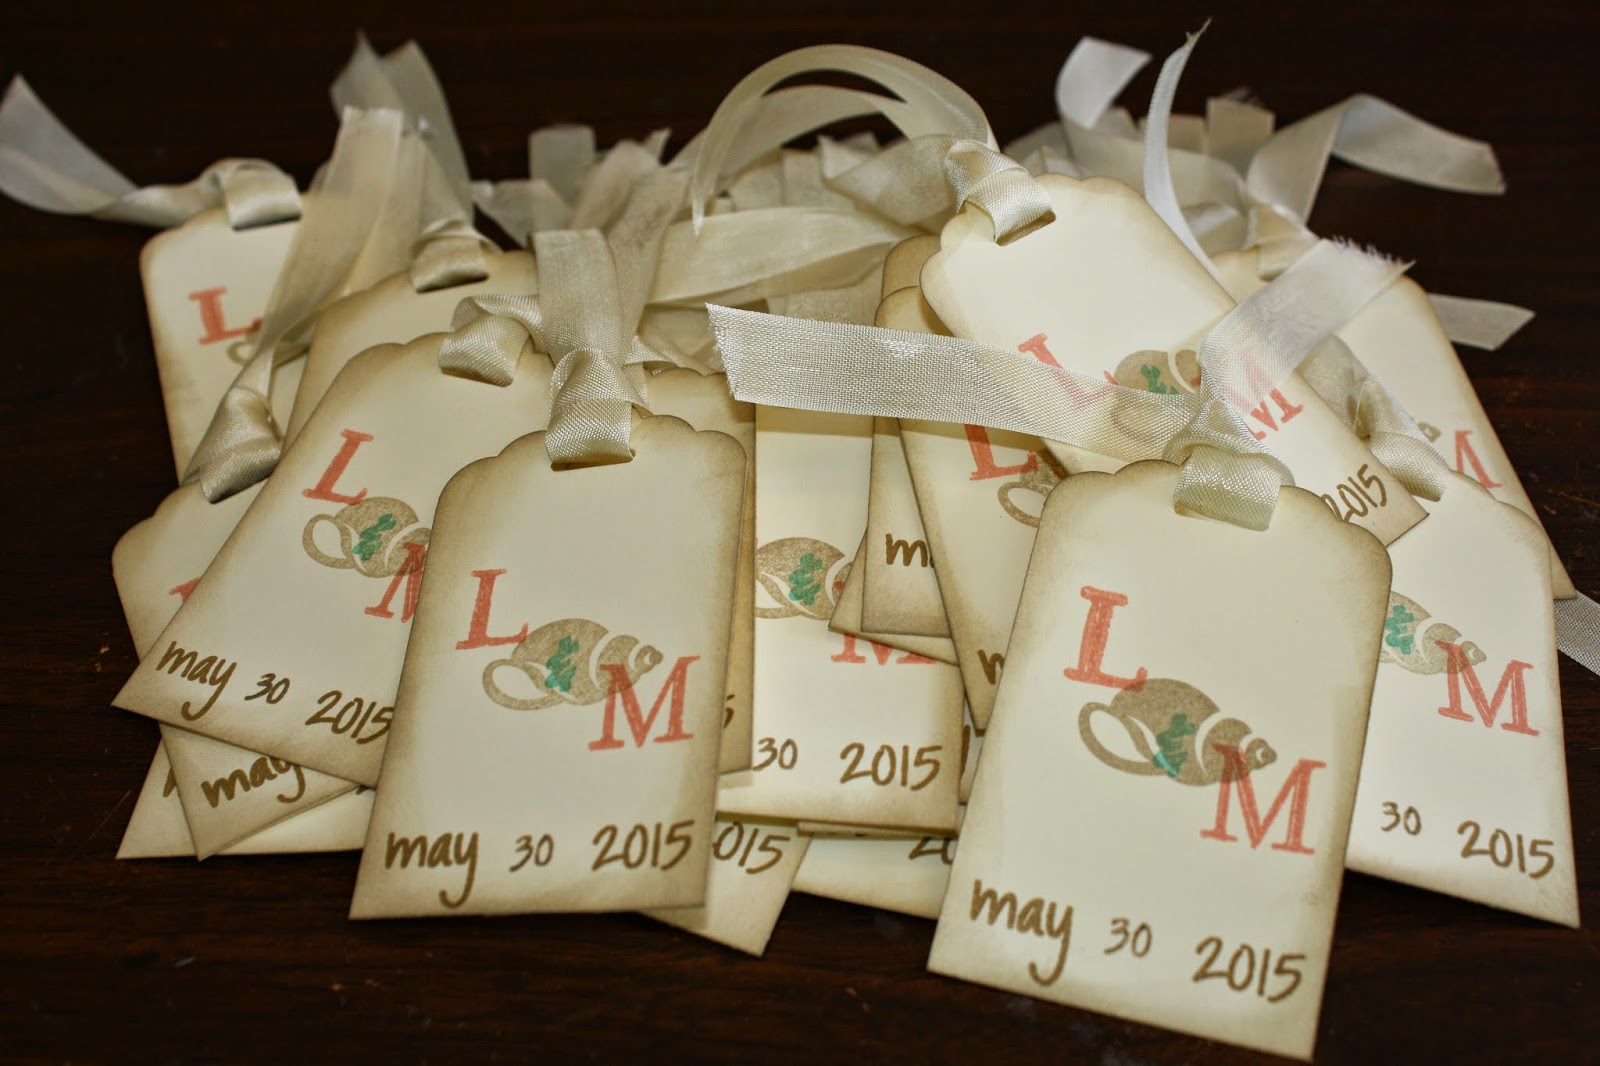
Or what about making a beautiful tag?


I started making tags several years ago after another scrapbooker told me that she always makes a card with the scraps from every scrapbook layout.  She pointed out that your “theme” is already set, so are your colors…all you have to do is assemble it!  After she told me that, I started making LOTS of cards with my layout scraps.  But sometimes, there’s only so many red, white and blue cards that I need, so I decided to make tags, too.  Now, whenever I finish a page, I make a quick card and a tag.  All of these tags were made with my Cricut using a 5-inch "Tag1" shape on the Plantin Schoolbook font and various other cuts from other fonts.  The fun challenge with tags is that I sometimes try to make Christmas tags using non-traditional colors – like a pink and black snowflake card.  Some of them have turned out quite good, I think. 

So that’s it for my gift-giving, post-Christmas blog.  I hope your holiday season has been filled with all the good things in life:  friends, family, faith, food, and fun! 

Merry Christmas!
The Crafty Neighbor

Saturday, July 10, 2010

Class Registrations Are Now Open

Registration for classes on our 3rd Annual Scrapbooking Cruise is now open.  Four classes will be offered on the cruise.  See below for full class descriptions.

We will be accepting registrations for classes through August 15th.  To register for classes, simply add them to your cart.  Please review your cart carefully before checking out.  We will confirm all class registrations via email.


Sunday 19th –
Mini Album Class - 10:00 a.m. till 12:00 noon
Layout Class - 2:00 p.m. till 4:00 p.m.
Wednesday 22nd –
Tag Box Class - 8:00 a.m. till 10:00 a.m.
Card Class - 10:00 a.m. till 12:00 noon 

About our instructors:
Christen Murray: You may have met Christen at a crop or your local scrapbook store. Whether she was working or cropping, you can be sure she was having fun. As a Visual Arts major at the University of North Texas, Christen Murray was drawn to scrapbooking and paper crafting of all kinds. Christen's other artistic interests include jewelry making, painting, and graphic design. Her sense of style is playful and fun, and she's not a bit afraid of bold color combinations and dramatic contrasts. Christen is the daughter of Cindy Murray

Cindy Murray:  Cindy took her first amateur photography class in 1985 and was thrilled to discover that it went hand-in-hand with another favorite hobby – genealogy. Preserving her family memories eventually evolved into scrapbooking and the rest is history. Cindy began teaching scrapbooking classes in her home a few years ago in an effort to promote preservation of photos and memorabilia in her son’s Boy Scout troop. Cindy looks forward to sharing some of the amazing and beautiful techniques she’s learned over the years, and hopes her enthusiasm will influence others to love the art as much as she does.

Pam Wilemon:  Pam has been scrapbooking for about 11 years. She has created and taught many interesting projects and classes during that time. You may have taken classes from her either while teaching at the Scrapspot in Plano, The Scrapbook Barn in Carrollton, or at the Great American Scrapbook Convention in Arlington. She enjoys the people that she meets thru her craft and especially enjoys the adventures that she is able to participate in thru her creativity.


Cruise Memories Mini Album Class - $25
Sunday 19th – 10:00 a.m. till 12:00 noon
Taught by Cindy Murray

(click on photo for more detail)


In this class, you will learn how to make a mini "Top 10 Cruise Memories Album".  Made from a surprising and commonly found household item, this album is packed with techniques, including:  faux rust, faux steal, alcohol inks, and ITS image transfer.  If you love Tim Holtz products, we've got lots of that, too!  This is the perfect little mini album to highlight your favorite cruise memories!

Supplies you will need: adhesive, bone folder and/or brayer, scissors, paper trimmer, heat embossing tool, emery board or sanding file.  Optional:  paper piercer, hole punch, finger sponge, tweezers.


Tropical Layout Class - $25
Sunday 19th – 2:00 p.m. till 4:00 p.m.
Taught by Christen Murray

(click to view larger image)

Explore bold uses of color in this tropical layout class using SEI's "Jocelyn" line.  Learn a new way to create a hidden pocket that holds a simple mini book for extra pictures or journaling.  Other techniques include altering glass tiles and distressing paper.
Supplies needed include: adhesive, paper trimmer, scissors, and a pencil.


Gift Tag Box Set - $25
Wednesday 22nd – 8:00 a.m. till 10:00 a.m.
Taught by Pam Wilemon

(actual class colors may vary)

This class will teach you how to create a divided box and will also include instructions to create 5 each of 4 different gift tags for that someone special. Pam will also have supplies to create the same Gift Tag Box Set in Christmas tags if you would like to design a second box.

Supplies you will need include: Scor Pal – or other scoring tool, tacky tape 1/4” wide, paper trimmer, xacto knife, ruler, pencil or pen , paper piercer or small hole punch, and scissors.


Christmas Tree Cards with Decorative Card Box - $25
Wednesday 22nd – 10:00 a.m. till 12:00 noon
Taught by Pam Wilemon

(actual class colors may vary)

We will be creating 6 different Christmas Tree Cards using a variety of techniques with a bonus box and decorative lid. This class is another great project that will be perfect for gift giving.

Supplies you will need include: Scor Pal – or other scoring tool, tacky tape 1/4” wide, paper trimmer, ruler, pencil or pen , adhesive, paper piercer or small hole punch and scissors.